A clean window can still look dull when its screen is coated with pollen, road dust, cottonwood fluff, and the fine grime that builds up through a Western Pennsylvania season. This homeowner guide to clean window screens will help you remove that buildup without stretching the mesh, damaging the frame, or leaving dirty runoff on freshly cleaned glass.
For most homes, screen cleaning is a manageable seasonal task. The key is using a light touch and giving each screen enough time to dry completely before it goes back into the window. Rushing the job can leave water spots, bent frames, and a screen that no longer fits properly.
Screens do more than keep insects out. They collect airborne debris before it reaches the glass, which is why a window may look hazy again soon after cleaning if the screen is still dirty. Clean screens improve the view, let in more natural light, and help a home look cared for from both inside and outside.
In the Pittsburgh area, screens often pick up a mix of spring pollen, summer dust, and moisture-related grime. Homes near busy roads may also have a darker film from traffic and construction dust. A quick rinse may be enough for light buildup, but screens that have not been cleaned for a year or more usually need a gentler, more thorough wash.
You do not need harsh cleaners or specialized equipment. In fact, aggressive chemicals and pressure washers can do more harm than good. Before removing any screens, set up a clean work area on a driveway, patio, or lawn where you can lay them flat.
For a typical cleaning job, gather:
Avoid abrasive scrub pads, bleach, ammonia-based cleaners, and high-pressure spray nozzles. These can weaken fiberglass mesh, loosen spline, bend lightweight aluminum frames, or discolor painted surfaces. If your screens are especially delicate, old, or visibly brittle, use a damp microfiber cloth rather than a brush.
Most window screens are held in place by spring clips, pull tabs, or small plungers. Open the window fully and look for the release mechanism before pulling on the frame. Screens should come out with controlled pressure. If one feels stuck, stop and check for paint buildup, warped framing, or a hidden latch.
Work one window at a time when possible. As each screen comes out, label it with a small piece of painter’s tape placed on the frame, such as “front left bedroom” or “kitchen.” Screens can look nearly identical, but small differences in size matter. Labeling prevents the frustrating process of trying to fit screens back into the wrong openings later.
For second-story windows, do not lean out or attempt to remove a screen from an unsafe position. Some windows allow interior screen removal, while others require exterior access. If safe access is not available, it is better to leave the screen in place for a light vacuuming or arrange professional service. No cleaning task is worth a fall.
Screen cleaning is a good time to inspect each frame. Look for tears in the mesh, loose spline around the edges, bent corners, broken pull tabs, and white oxidation on aluminum frames. Small holes can allow insects into the home, while a loose screen can blow out during a storm.
A tiny tear may be suitable for a patch, depending on its location and the appearance you want. Larger damage, sagging mesh, or bent frames generally calls for screen repair or replacement. Washing will not fix wear, and scrubbing a weak screen can make a small problem worse.
Start by laying the screen flat on a clean surface. A driveway works well if it has been swept first. You can also use a large towel on a deck or patio to reduce the chance of scratching the frame.
Rinse the screen lightly with a hose to remove loose dirt. Keep the nozzle several feet away and use a broad, gentle shower setting. Do not spray directly at close range, especially along the edges where the mesh meets the frame.
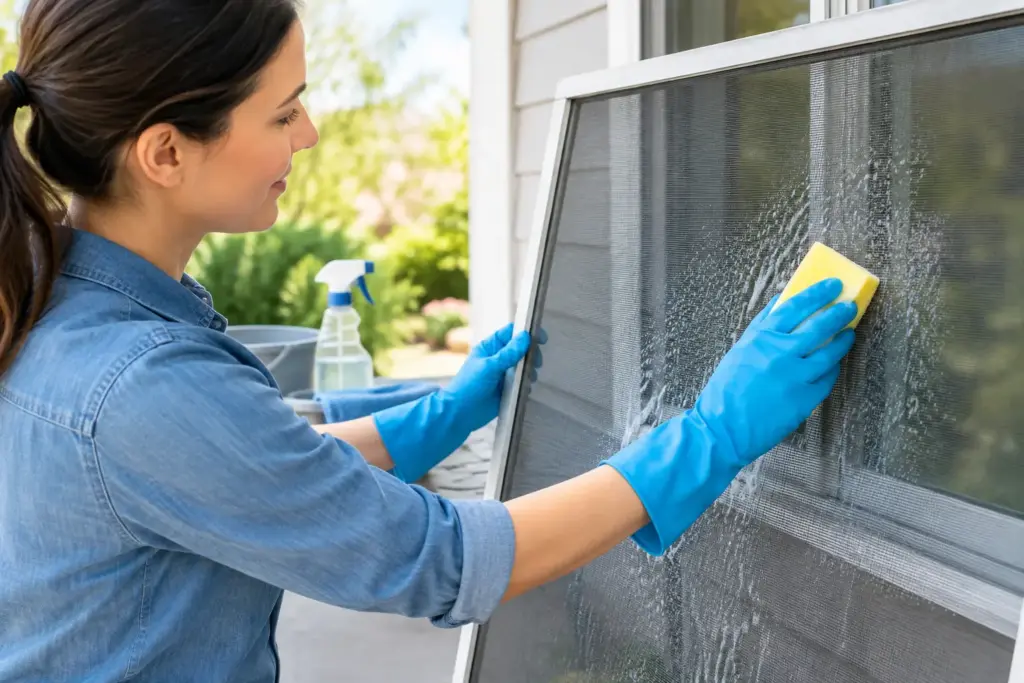
Dip a soft brush or microfiber cloth into your soapy water and clean both sides with light, even strokes. Work from the top down, but avoid pushing hard against the mesh. The goal is to lift dirt, not force it through the screen material. For stubborn spots, let the mild soap sit for a minute or two, then wipe again rather than scrubbing harder.
Rinse both sides thoroughly. Any remaining soap can dry into a film and attract more dust. If the runoff is still dark, repeat the process with fresh water rather than adding more detergent.
Window screens with heavy grease or smoke residue may need more than a standard wash. Kitchen screens, screens near grills, and screens on homes exposed to wood smoke can hold a sticky film. In those cases, mild soap and patience are usually safer than stronger chemicals. If residue persists, professional cleaning may be the better choice, particularly when the windows themselves also need attention.
After rinsing, stand the screens upright in a protected area or lay them flat on clean towels. Air-drying is best. You can gently blot the frame with a towel, but do not rub the mesh aggressively or reinstall a screen while it is still wet.
Moisture trapped between a screen and window can leave marks on clean glass and may contribute to mildew in poorly ventilated areas. Drying also gives you another opportunity to check that the mesh remains taut and the frame has not twisted during handling.
On a warm, breezy day, drying may take less than an hour. In cooler or humid weather, allow more time. This is one reason many homeowners prefer to clean screens on a mild, dry day rather than trying to fit the job into a rainy weekend.
Use your labels to return every screen to its original window. Hold the frame firmly, keep it square with the opening, and press it into place without forcing it. If the screen does not sit flat or the clips will not engage, remove it and check the orientation. Turning a screen around or upside down can make a correct fit seem impossible.
Once the screen is in place, open and close the window to make sure it operates normally. Check from outside, if it is safe to do so, for gaps around the frame. A properly seated screen should look straight, rest securely in the opening, and not rattle in the wind.
Before reinstalling, wipe loose debris from the sill and track. Dirt in these areas can wash onto the glass during the next rain and can interfere with smooth window operation. A vacuum with a narrow attachment works well for dry debris, followed by a damp cloth for the remaining dust.
This small step makes a noticeable difference, especially for sliding windows. It also helps keep a newly cleaned screen from picking up grime immediately after you put it back.
For most homes, once or twice a year is enough. A spring cleaning removes winter residue and pollen buildup, while a late-summer or fall cleaning helps prepare windows for the months when they stay closed more often. Homes near trees, construction activity, unpaved roads, or high-traffic areas may benefit from more frequent attention.
It also depends on how you use your windows. If you open them often, keep screens clean enough to maintain airflow and visibility. If certain screens stay in year-round but windows are rarely opened, inspect them seasonally for dust, mildew, and damage instead of washing every screen on a rigid schedule.
Screen cleaning becomes more complicated when windows are high, access is limited, or a property has many large screens, storm windows, or delicate custom frames. Commercial properties and multi-unit buildings often have the same issue at a larger scale: the work is straightforward, but reaching every screen safely and keeping the process organized takes time and proper equipment.
A professional window cleaning team can clean the glass, screens, sills, and accessible tracks as part of a coordinated service visit. That approach is especially useful before listing a home, hosting an event, completing seasonal exterior maintenance, or restoring a clearer view after a long Pittsburgh winter. A Clearvue provides insured, professional window cleaning for homeowners and businesses that want the job handled safely and reliably.
Clean screens are a small detail with a real effect on light, views, and curb appeal. Choose a dry day, handle each frame gently, and let every screen dry completely. If the work requires ladders, difficult access, or more time than your schedule allows, a trusted local professional can help keep your windows looking their best.



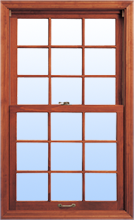
* Suspended Grids / False Grids – the grids are between your panes of glass.
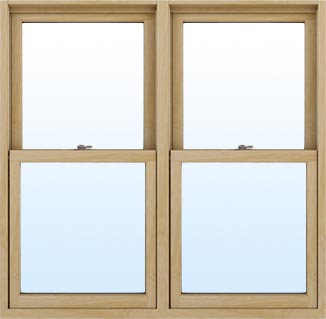
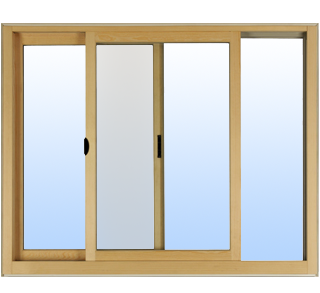


* Fixed / non-removable grids – These are windows with non-removable obstructions making the window look and feel like individual pieces of glass.